 Loading... Please wait...
Pages
Categories
Search

Your search for "f2p102102" did not match any products.
Suggestions:
- Make sure all words are spelled correctly.
- Try different keywords.
- Try more general keywords.
New Products
-
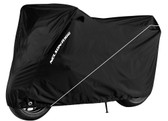
 Nelson-Rigg Defender Extreme Cover 2X
$139.95$124.96
-
-

-
-

Quick Links
Customer Service
Spoiled Biker
7165 NC 89 Hwy W
Westfield, NC 27053
1-877-246-7187


Newsletter Sign Up
All prices are in USD. Copyright 2026 Spoiled Biker. | Sitemap | eCommerce Website Design by Peter James Web Design Studio